Room wallpapering Step By Step - Picton Close, Eastham
27th May 2014
Here I have taken photos of each stage of a job just finished on Picton Close in Eastham, Wirral. Hopefully you will get a good insight into the stages of what I carry out during a standard room re-decoration.
Stage 1 - Preperation
Its all in the preparation they say. And its true. Wherever I go I always take time to setup and get ready. If there are items of furniture in the room I protect them with sheets to stop them getting paint on or damaged in any way.
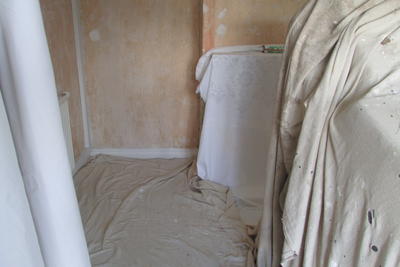
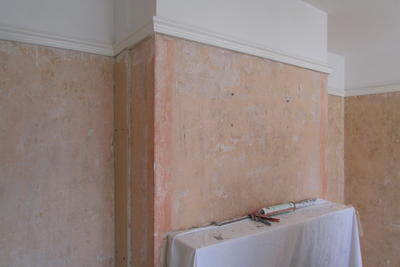
Stage 2 - Strip the Walls
Now the real work starts. The second task is to remove the old and this is what the room looked like after I had finished this stage.
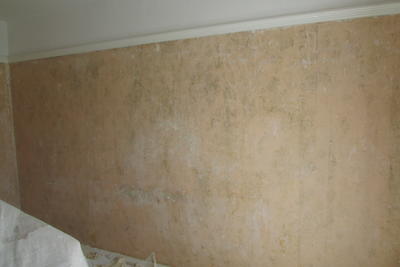
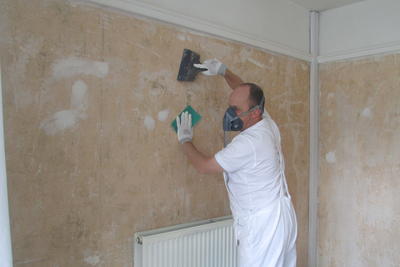
Stage 3 - Prepare the walls
The next stage is to prepare the actual walls. I will sand them down to remove any protrusions and also fill in cracks and flakes to give a nice smooth surface to work with. This is one of the most important steps that, when done properly, pays dividends later when admiring the final finish.
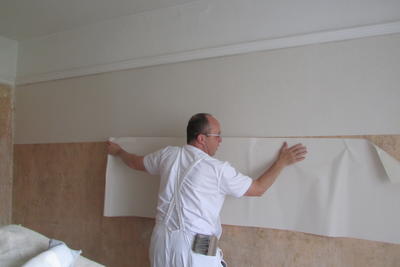
Stage 4 - Line the walls
Next I move onto lining the walls. Again for a perfect finish this step is recommended.
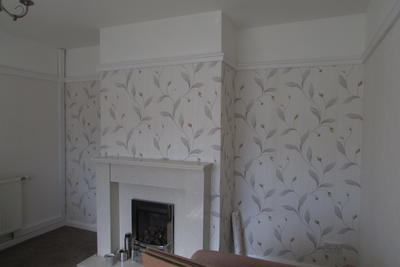
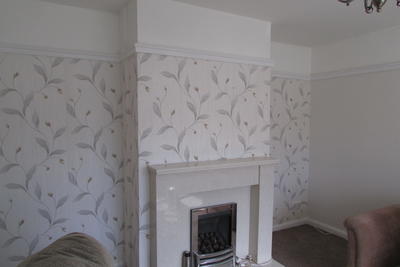
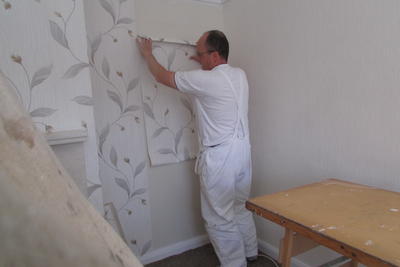
Stage 5 - Apply the wallpaper
After all of that we can now start to apply the chosen wallpaper to the walls.
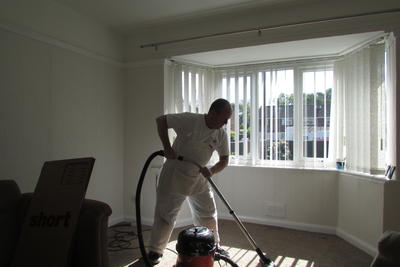
Stage 6 - The clean-up
I take pride in my work and also respect your home by leaving everything clean and tidy. Another important stage in the process.
Stage 7 - Admire the completed job with a fresh cup of tea
All done - stand back with cuppa in hand, and admire my handy work. I never fail to get a sense of satisfaction at the end of every job.